Chocolate Hazelnut Thumbprint Cookies
Uitgelicht onder: Zoete Verleidingen
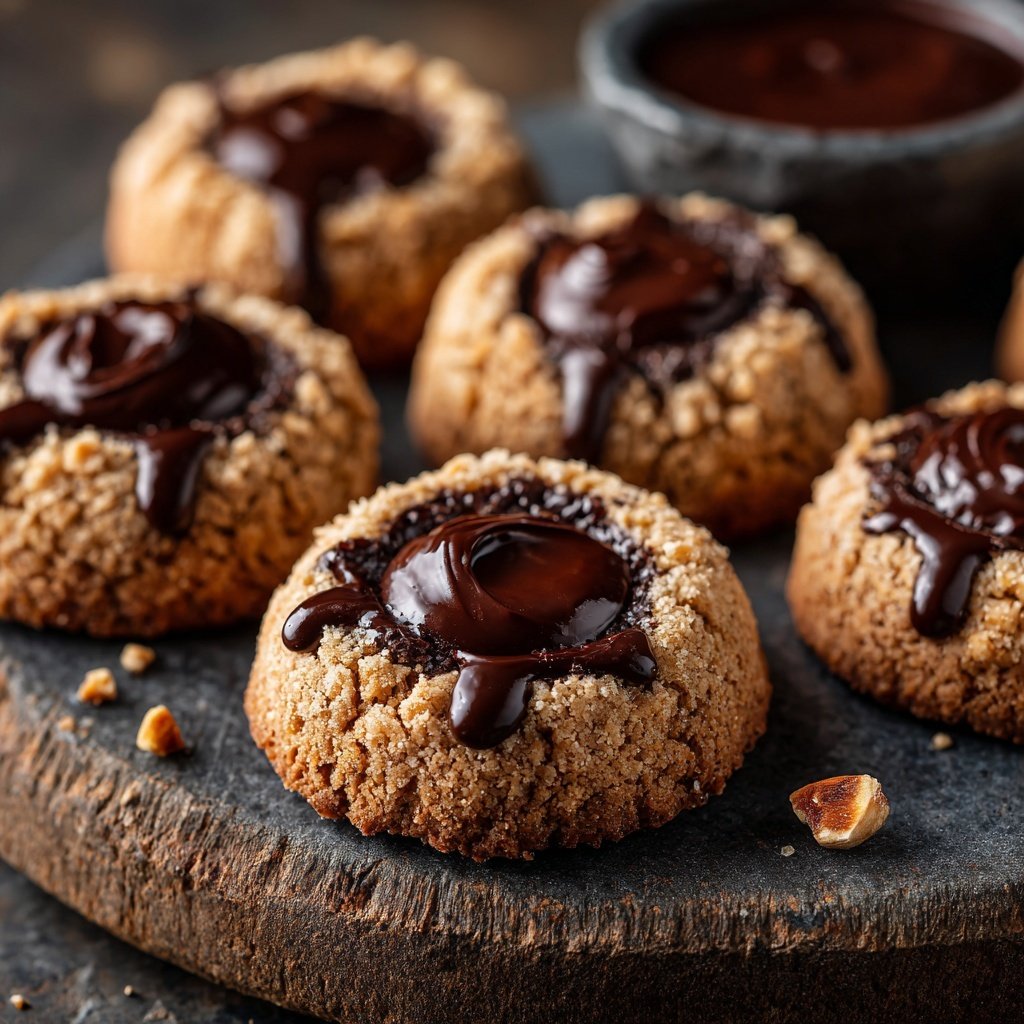
I love making these Chocolate Hazelnut Thumbprint Cookies because they combine rich chocolate flavors with the delightful crunch of hazelnuts. Each bite delivers a burst of creamy hazelnut spread inside a tender, buttery cookie that simply melts in your mouth. They’re perfect for any occasion, whether I’m celebrating a special event or just indulging a little at home. Plus, the aroma of freshly baked cookies fills the kitchen, making it hard to resist sneaking a couple before they even cool down!
When I first tried making chocolate thumbprint cookies, I was amazed at how easy and satisfying the process was. Using ground hazelnuts instead of traditional flour gives the cookies a unique flavor and a delightful crunch. I discovered that chilling the dough before baking helps the cookies maintain their shape, which is essential for that beautiful thumbprint!
Another tip I've learned is to fill the thumbprint indentations with quality hazelnut spread right after they come out of the oven while they’re still warm. This allows the chocolate to slightly melt and infuse the cookie with irresistible flavor, making them a guaranteed hit with friends and family.
Why You Will Love These Cookies
- Decadent chocolate paired with nutty hazelnuts for a perfect balance
- Easy to make and perfect for sharing with loved ones
- A delightful treat that elevates any dessert table
Understanding the Ingredients
Each ingredient in these Chocolate Hazelnut Thumbprint Cookies plays a vital role in achieving the perfect texture and flavor. The combination of all-purpose flour and ground hazelnuts contributes not only to the tender crumb but also adds a rich nutty depth that pairs beautifully with chocolate. Ground hazelnuts can be substituted with other nuts like almonds, but keep in mind that this may alter the cookie’s final flavor profile.
Butter is crucial for providing moisture and a tender texture. Make sure it’s softened to room temperature to ensure easy creaming with the sugars. If you're looking to reduce dairy, you can use coconut oil as a substitute. However, be aware that the cookies may take on a slightly different flavor and texture if you decide to make this swap.
Perfecting the Technique
Chilling the dough is an essential step that shouldn’t be skipped. Chilling for at least 20 minutes allows the gluten in the flour to relax and helps the cookies maintain their shape while baking. This results in a thicker cookie instead of a flat one. If you find the dough too sticky to work with, you can chill it longer or dust your hands with a bit of flour before shaping the balls.
When creating the thumbprint indentations, use a gentle touch to avoid breaking the cookie. Aim for a depth that creates a small well—about halfway through the cookie’s height—so that there’s plenty of space for the hazelnut spread. If the cookies lose their shape while baking, make a quick adjustment with the back of a spoon right after they come out of the oven.
Ingrediënten
Gather these ingredients to make your delicious Chocolate Hazelnut Thumbprint Cookies:
Ingredients
- 1 cup all-purpose flour
- 1/2 cup ground hazelnuts
- 1/2 cup unsalted butter, softened
- 1/2 cup granulated sugar
- 1/4 cup brown sugar
- 1 large egg yolk
- 1 teaspoon vanilla extract
- 1/2 teaspoon baking powder
- 1/4 teaspoon salt
- 1/2 cup hazelnut spread
- Chopped hazelnuts for topping (optional)
Make sure to have these on hand before starting your baking adventure!

Bereidingswijze
Follow these steps to create your delectable cookies:
Prepare the Dough
In a bowl, beat the softened butter, granulated sugar, and brown sugar until creamy. Add the egg yolk and vanilla extract, mixing well. In another bowl, whisk together the all-purpose flour, ground hazelnuts, baking powder, and salt. Gradually add the dry ingredients to the wet ingredients, mixing until combined. Chill the dough for at least 20 minutes.
Shape and Bake
Preheat your oven to 350°F (175°C). Scoop tablespoon-sized portions of dough and roll into balls. Place them on a lined baking sheet and use your thumb to make an indentation in the center of each ball. Bake for 12-15 minutes, until lightly browned around the edges. Remove from the oven and let cool slightly.
Fill with Hazelnut Spread
While the cookies are still warm, fill the indentations with hazelnut spread. If desired, sprinkle chopped hazelnuts on top for added crunch. Allow the cookies to cool completely on a wire rack.
Enjoy your homemade cookies with a cup of coffee or as a sweet snack!
Professionele Tips
- For extra flavor, consider adding a pinch of cinnamon to the cookie dough. This enhances the overall taste and complements the chocolate wonderfully.
Storing and Freezing
These cookies can be stored in an airtight container at room temperature for up to a week, though they rarely last that long! If you plan to make them ahead of time, you can freeze them before baking. Roll the shaped balls of dough and freeze them on a baking sheet. Once firm, transfer them to a zip-top bag and store them for up to 3 months. Bake from frozen; add a couple of minutes to the baking time.
Once filled with hazelnut spread, it’s best to enjoy the cookies fresh, but they can still be stored for a couple of days. If you notice any softening, you can pop them back into the oven for a few minutes to crisp them up again.
Serving Suggestions
These Chocolate Hazelnut Thumbprint Cookies make a delightful addition to dessert platters during gatherings, especially when paired with coffee or tea. For a festive touch, drizzle a bit of melted dark chocolate over the tops of the cookies before serving. This not only enhances the chocolate flavor but also adds an appealing visual element.
Consider pairing these cookies with a scoop of vanilla or hazelnut ice cream for an indulgent dessert experience. You can even use the cookies as a base for a cookie ice cream sandwich, which transforms these sweet treats into a delightful frozen dessert that's sure to impress your guests.
Vragen Over Recepten
→ Can I use other nuts instead of hazelnuts?
Absolutely! You can substitute ground almonds, walnuts, or pecans for a different flavor profile.
→ Can I freeze the cookie dough?
Yes, you can freeze the dough. Just wrap it tightly in plastic wrap and store it in an airtight container. When ready to bake, thaw in the refrigerator overnight and follow the baking instructions.
→ How should I store the cookies?
Keep the cookies in an airtight container at room temperature for up to a week. For longer storage, you can freeze them.
→ What can I use instead of egg yolk?
You can replace the egg yolk with a flaxseed meal mixed with water or a store-bought egg substitute for a vegan option.
Chocolate Hazelnut Thumbprint Cookies
Gemaakt door: Cressida Northwood
Recepttype: Zoete Verleidingen
Vaardigheidsniveau: Easy
Eindportie: 24 cookies
Wat je Nodig Hebt
Ingredients
- 1 cup all-purpose flour
- 1/2 cup ground hazelnuts
- 1/2 cup unsalted butter, softened
- 1/2 cup granulated sugar
- 1/4 cup brown sugar
- 1 large egg yolk
- 1 teaspoon vanilla extract
- 1/2 teaspoon baking powder
- 1/4 teaspoon salt
- 1/2 cup hazelnut spread
- Chopped hazelnuts for topping (optional)
Stappen
In a bowl, beat the softened butter, granulated sugar, and brown sugar until creamy. Add the egg yolk and vanilla extract, mixing well. In another bowl, whisk together the all-purpose flour, ground hazelnuts, baking powder, and salt. Gradually add the dry ingredients to the wet ingredients, mixing until combined. Chill the dough for at least 20 minutes.
Preheat your oven to 350°F (175°C). Scoop tablespoon-sized portions of dough and roll into balls. Place them on a lined baking sheet and use your thumb to make an indentation in the center of each ball. Bake for 12-15 minutes, until lightly browned around the edges. Remove from the oven and let cool slightly.
While the cookies are still warm, fill the indentations with hazelnut spread. If desired, sprinkle chopped hazelnuts on top for added crunch. Allow the cookies to cool completely on a wire rack.
Extra Tips
- For extra flavor, consider adding a pinch of cinnamon to the cookie dough. This enhances the overall taste and complements the chocolate wonderfully.
Voedingswaarde (Per Portie)
- Calories: 150 kcal
- Total Fat: 9g
- Saturated Fat: 3g
- Cholesterol: 15mg
- Sodium: 55mg
- Total Carbohydrates: 16g
- Dietary Fiber: 1g
- Sugars: 8g
- Protein: 2g